AWS CodePipeline Example which deploys to multiple AWS Accounts - Part1
At WebGate, we’re using AWS CodePipeline heavily for CI/CD of our serverless apps and we usually do 3-tier deployments (Dev, Test, Prod).
Therefore we were looking for an example which describes how you have to build such a solution. Unfortunately we didn’t found a source which had a full blown solution matching our needs. Luckily we found some examples which gave us some clues on how to build such a Pipeline.
Especially following two sites helped us to get started:
- Building a Secure Cross-Account Continuous Delivery Pipeline
- How do I use CodePipeline to deploy an AWS CloudFormation stack in a different account?
In this post I will show you an example which you can use for your own cross-account AWS CodePipelines.
We will have:
-
"Central Account" → App Repos, Pipelines…
-
"Dev Account" → Development Account for App
-
"Test Account" → Testing Account for App
-
"Prod Account" → Production Account for App
How to Deploy
You will find the source code of this example in this Github repo, let’s first deploy the prerequisites and later the sample repo.
1. Prerequisites
There are 3 AWS CloudFormation templates which you will need to deploy this solution, let’s first have a look at them:
cloudformation/01central-prereqs.yaml
This template will deploy all needed resources in the "Central Account":
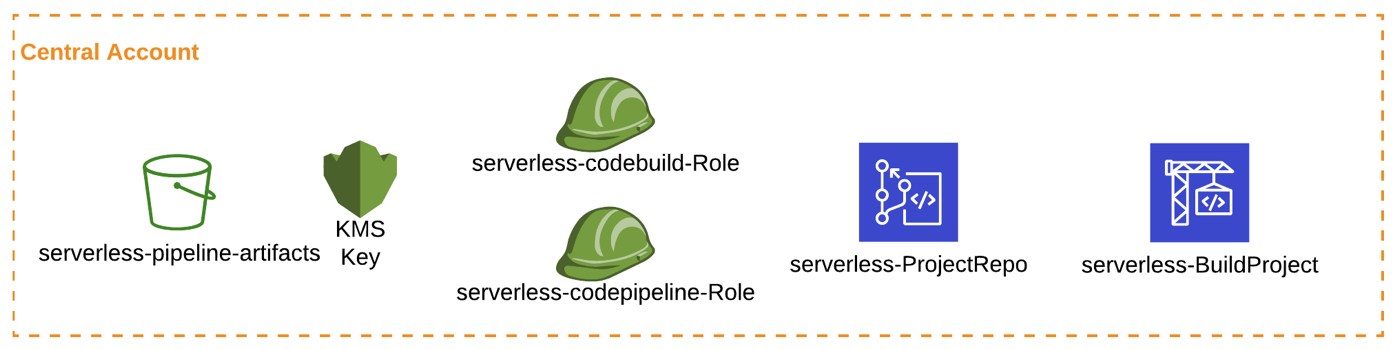
-
S3 Artifact Bucket
-
KMS Key for encryption
-
IAM Roles/Policies
-
CodeCommit Repo for the App
-
CodeBuild Project for App
cloudformation/02prereqs-accounts.yaml
This template will deploy all needed resources in the "Dev Account", "Test Account" and "Prod Account":
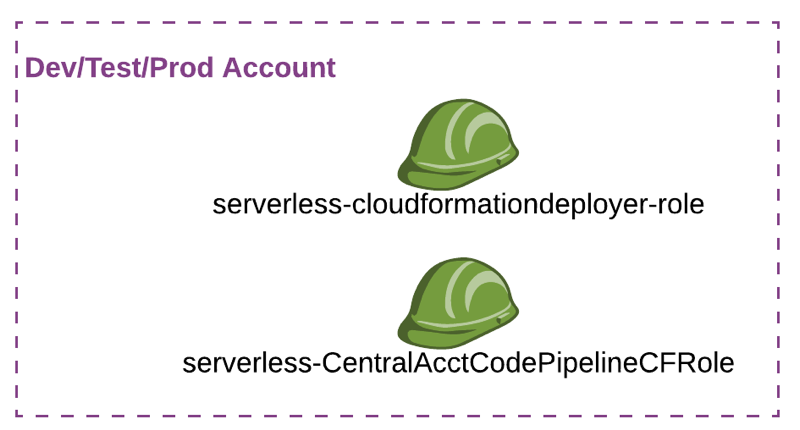
|
|
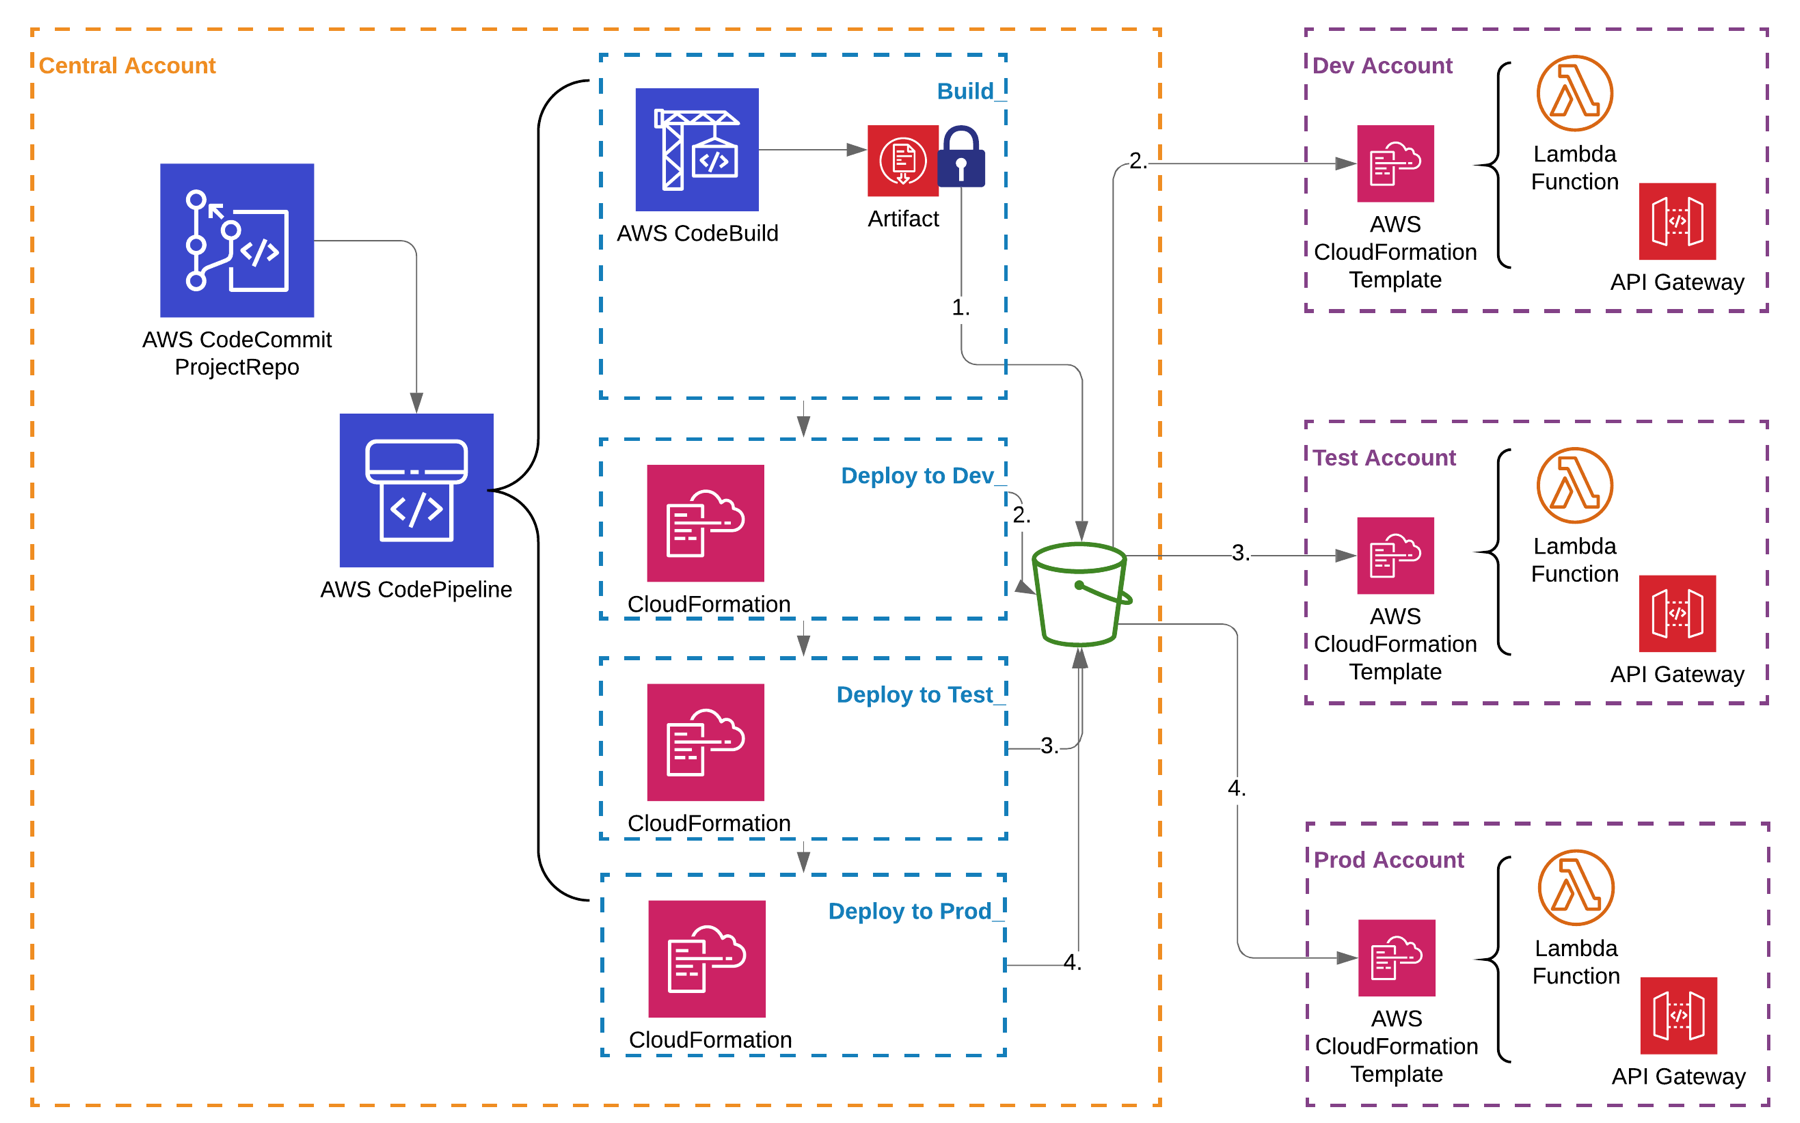
cloudformation/03central-pipeline.yaml
This template will deploy the actual Code Pipeline in the "Central Account".
For simplicity I’m only deploying a simple "Hello World" Lambda function and an API Gateway and I’m only using the Build and Deploy Stages in the Pipeline:
2. How to Deploy the Prerequisites
Central Account
First logon to your Central Account and open up CloudFormation in the Region of choice.
Now create a new stack with the template 01central-prereqs.yaml and define:
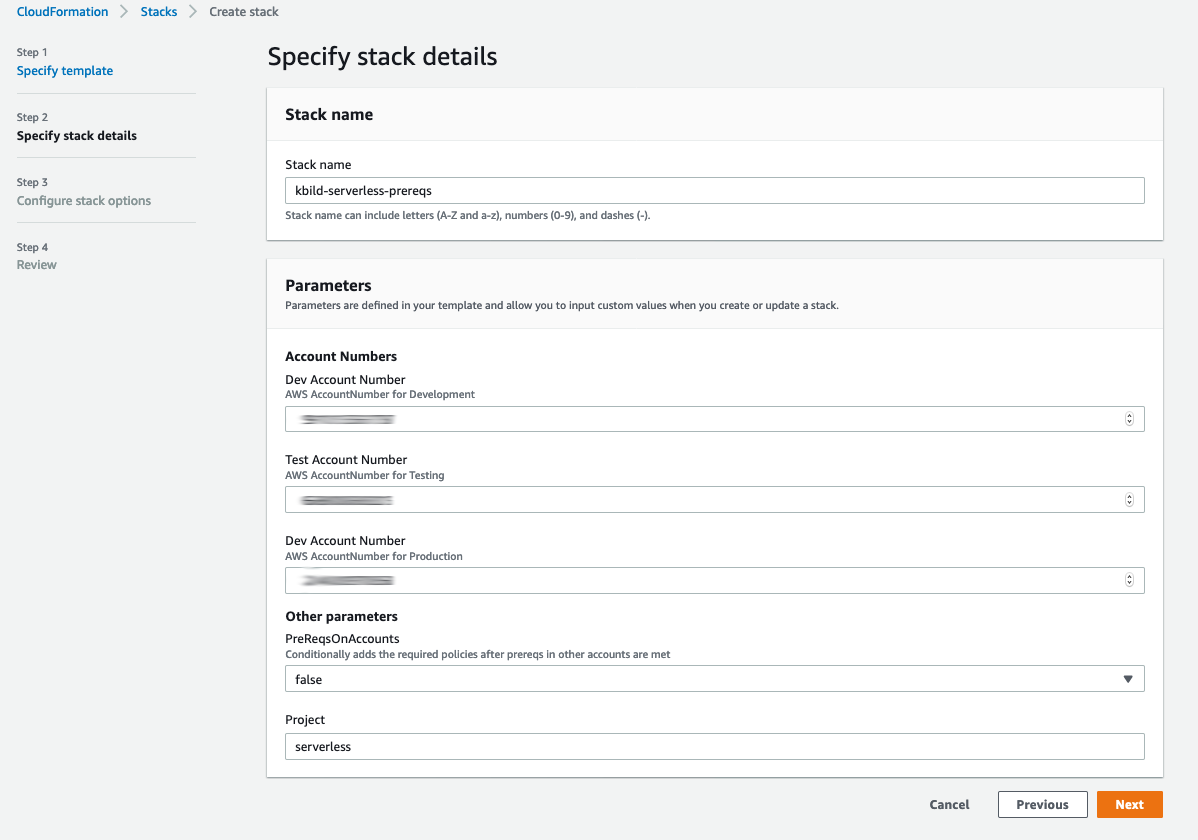
-
Stack Name i.e. kbild-serverless-prereqs
-
AWS Account Numbers for the Dev, Test and Prod Accounts
-
PreReqsOnAccounts, should stay "false"
-
Project name i.e. serverless
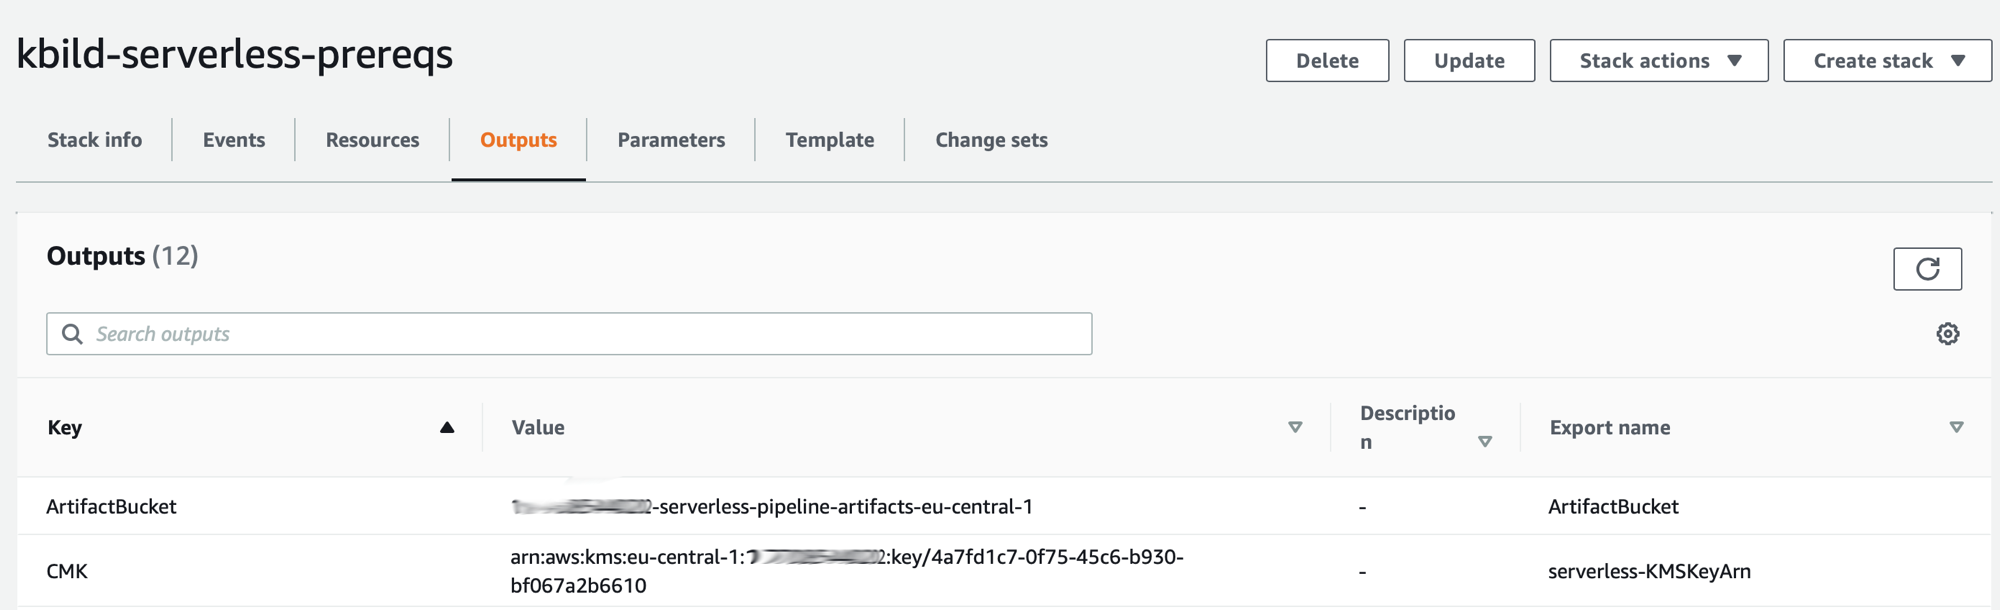
Finish the stack deployment, it will take some minutes. When finished, open up the Outputs tab of the stack and take a note of the "ArtifactBucket" and "CMK" Key values.
Dev Account
Now logon to your Dev Account and open up CloudFormation in the same Region as used for the "Central Account"
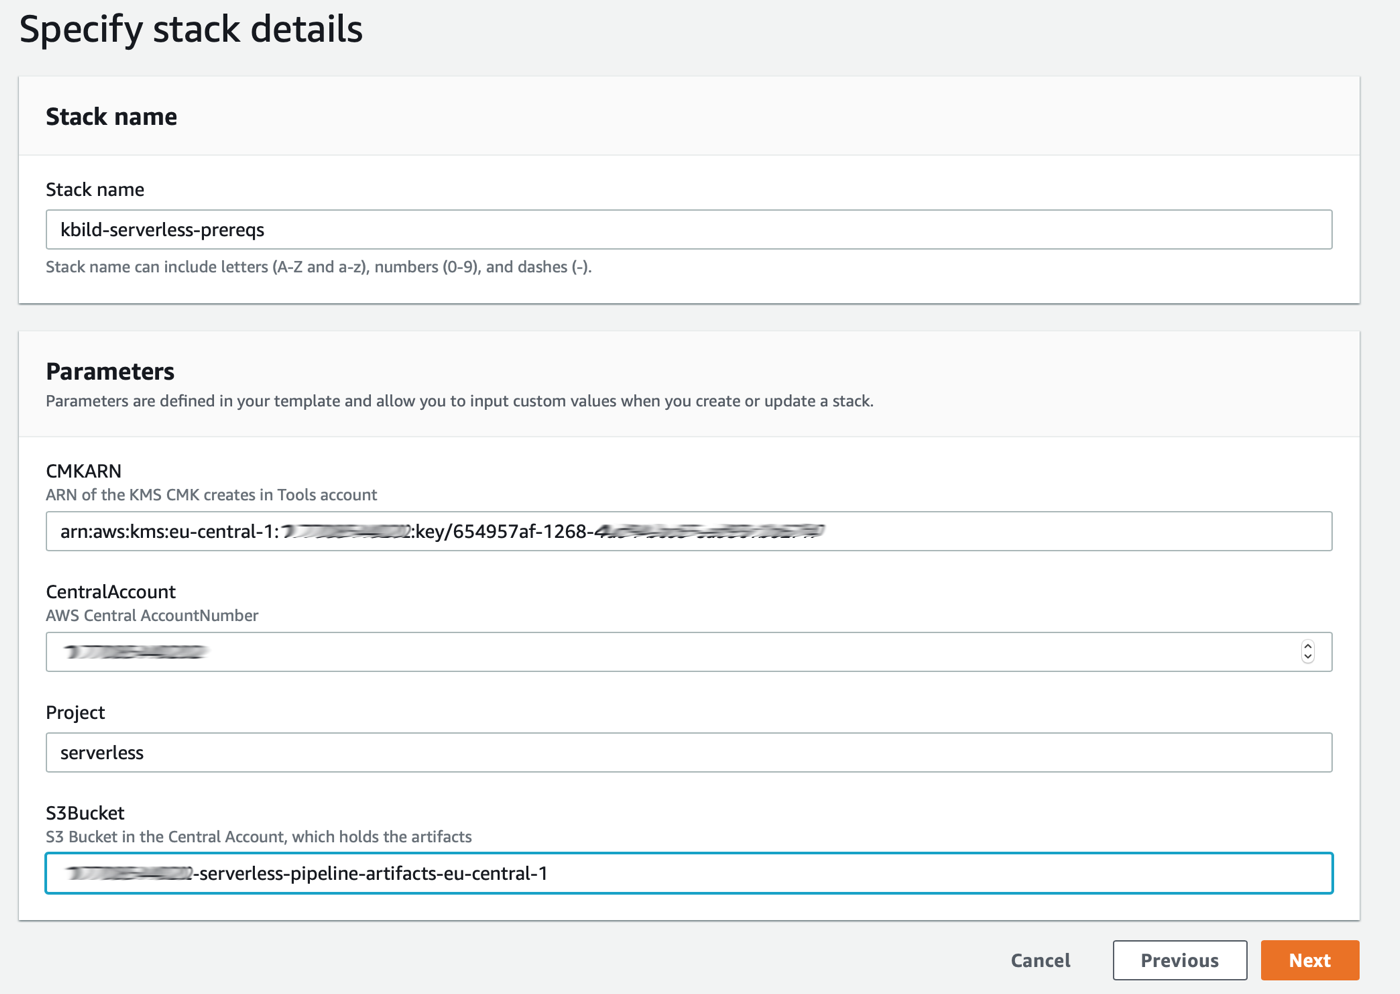
Here we create a new stack and we will use the template 02prereqs-accounts.yaml:
-
Stack Name i.e. kbild-serverless-prereqs
-
CMKARN → Fill in the value of the "CMK" Key noted before
-
CentralAccount → Fill in the account number of the "Central Account"
-
Project name i.e. serverless
-
S3Bucket → Fill in the value of the "ArtifactBucket" Key
Wait for the stack deployment to be finished.
Test Account / Prod Account
Now logon to your Test Account / Prod Account and repeat the steps for 02prereqs-accounts.yaml
Central Account
Now you have to go back to your Central Account.
Please ensure that the prerequisites are already deployed to the "Dev/Test Prod Account", otherwise the following update will fail!
Do an update on the Prereqs Stack which you created some minutes ago. Choose "Use current template" and change the value of parameter PreReqsOnAccounts from false to true and update the stack:
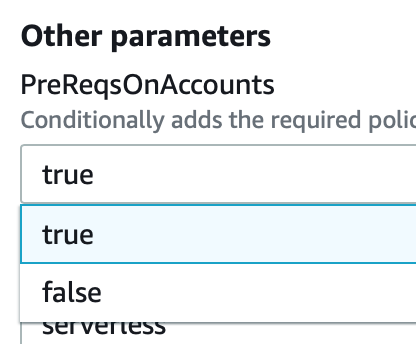
This will update the S3 Artifact bucket and KMS Policies and will add access for to the "Dev/Test Prod Accounts".
3. Deploy Pipeline and App
Pipeline
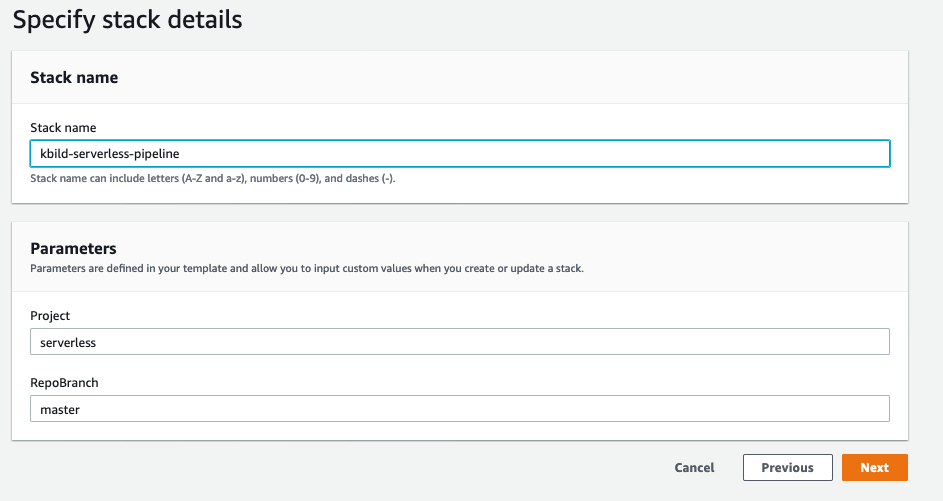
Again in the Central Account create a CF stack with the 03central-pipeline.yaml template:
-
Stack Name i.e. kbild-serverless-pipeline
-
Project name i.e. serverless
-
RepoBranch → The Repo branch to which the Pipeline Webhook will listen too
Again wait for the stack deployment to be finished.
Before we run our Code Pipeline for the first time, we have to add our "Hello World" app to the freshly created CodeCommit Repo.
App Deployment
First clone the newly created CodeCommit Repo locally to your machine.
(If you have never used git with CodeCommit, go to the repo and click on "Clone URL" at the top → "Connection steps").
I will use SSH:
git clone ssh://git-codecommit.eu-central-1.amazonaws.com/v1/repos/serverless-ProjectRepoNow add the buildspec.yml and sam-app folder from the the Github repo to your local clone:

Now commit and push the new files to the CodeCommit Repo:
git add .
git commit -a
git push
This push should trigger the Code Pipeline, so go back to your AWS console of the "Central Account" and open up CodePipeline and the new serverless-Pipeline:

As you can see the pipeline was just triggered and you can follow how the Pipeline goes through all the stages:
-
Build_Templates
-
Create_Change_Sets_and_Deploy_to_Dev
-
Create_Change_Sets_and_Deploy_to_Test
-
Create_Change_Sets_and_Deploy_to_Prod
If all stages have finished you can logon to your "Dev Account" and go to:
CloudFormation → cicd-codepipeline-Dev Stack → Outputs
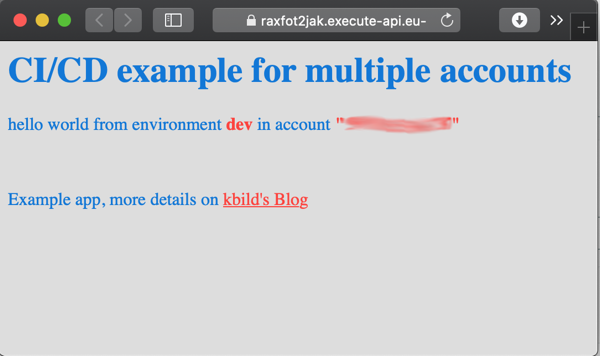
Click on the value for the Key "HelloWorldApi", this will open the API Gateway Endpoint URL and will show you the "Hello World" example app.
If everything worked as expected you should see:
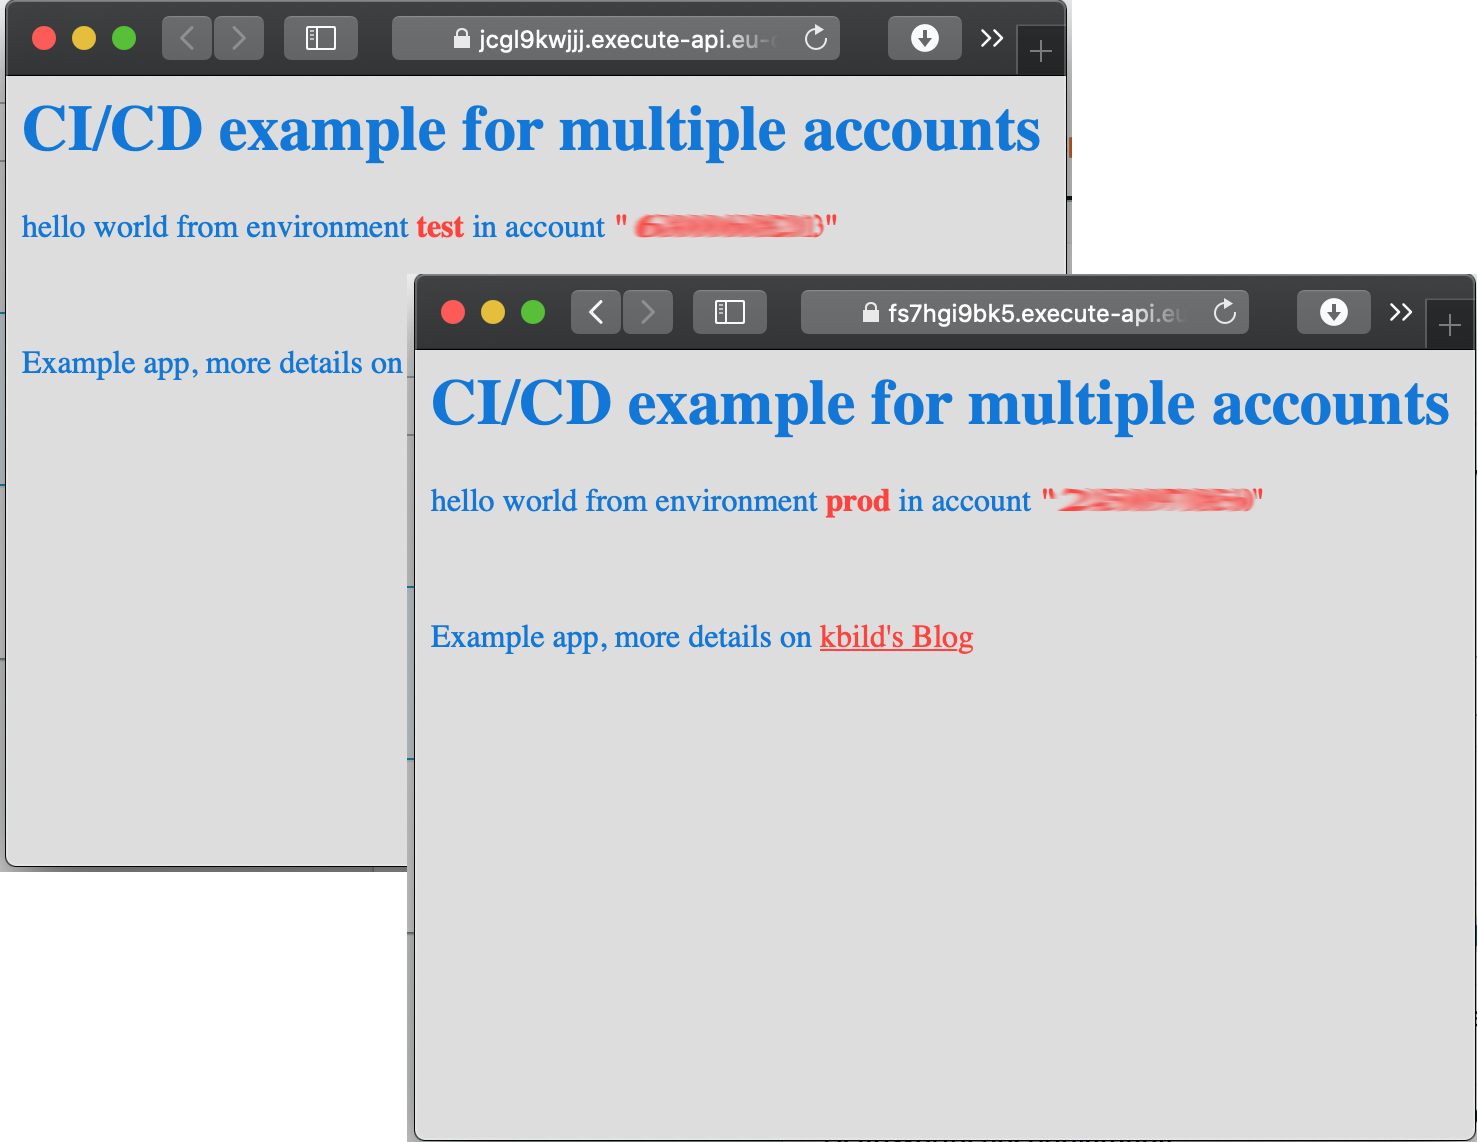
Now go to your Test/Prod Account and open the according API Gateway Endpoint URL as well, you should see environment specific "Hello World" pages:
I hope that this example helps you on your future CodePipeline journey!
In Part 2 of this post I will get into more details how the CloudFormation templates work and how you may customize them.