UPDATE: IBM added finally complete instructions how to upgrade to CR1
-> hopefully next time they will provide documentation not 1 month after a fixpack release!
Recently I started to update our productional IBM Connections 4.5 environment to CR1 which was easy for the Connections part but rather complicated for the Filenet/CCM part.
As I always tell my customers RTFM I checked the provided documentation first:
Fixcentral IBM Connections 4.5 CR1
IBM Connection Content Manager (CCM) – Information on FileNet 5.2.0 FP1
Mhm, sounds easy but I could not find the mentioned script after the Filenet FP1 installation and therefore decided to have a look at the developerworks IBM Connections Forum and surprise, surprise, I wasn’t the only one with this issue. To make a long story short this post pointed me to the right direction:
So here are the details what worked for me (Win install):
Remark: Whenever you see the wasadmin user in the following screens replace it with your WAS admin user from LDAP!
Download all needed fixpacks via FixCentral – 5.2.0.1-P8CE-WIN-FP001.zip (2.6GB!), 5.2.0.1-P8CE-CLIENT-WIN-FP001.zip, 2.0.0.1-FNCS-FP001-WIN.zip
Shutdown your CCM server
Make a backup of the existing bootstrapped Engine-ws.ear file – backups are not for losers
(can be found in Connections_Install/addons/ccm/ContentEngine/tools/configure/profiles/CCM/ear/)
Install FP 1 for FileNet Content Engine Server – Run 5.2.0.1-P8CE-WIN-FP001.EXE
Click through installer (I added the .NET Clients)
FP1 Readme suggests to remove the deployed CPE and the application server cache directories, I ignored this and just started the Configuration Manager
In the Configuration Manager click on “File” – “Upgrade Profile”
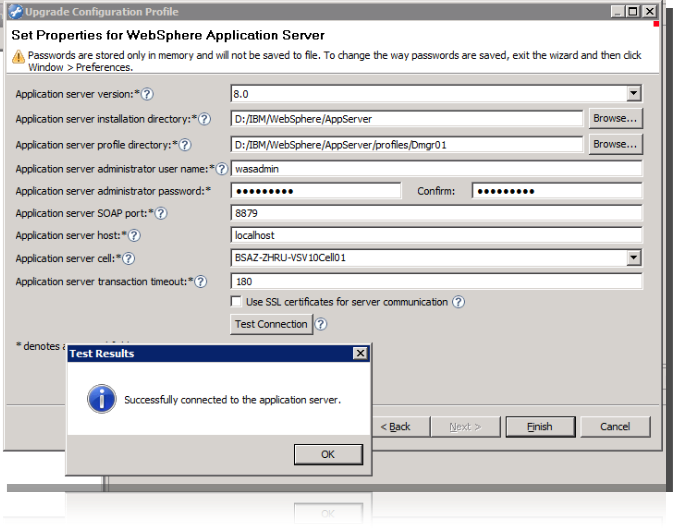
Click “Next” and fill in your WAS credentials and test the connection
Click “Finish” and “Ok”, double click “Configure Bootstrap and Text Extraction” and check that the “Bootstrap operation” property shows “Upgrade” and that the fully qualified path to the currently bootstrapped Content Platform Engine EAR file is correct
Click on “Run Task”, you will see the status of the Task in the Console, wait a few minutes until completion
Double click on “Deploy Application” and check the “Bootstrapped EAR file” path, then click on “Run Task”, wait a few minutes until completion
Close the Configuration Manager
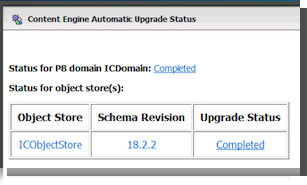
Now start your CCM server and go to http://:/FileNet/AutomaticUpgradeStatus
Wait until “Upgrade Status” shows “Completed”
Install FP1 for FileNet Content Engine Client – 5.2.0.1-P8CE-CLIENT-WIN-FP001.EXE
Uninstall the FileNet Collaboration Services (Windows Control Panel – Remove application)
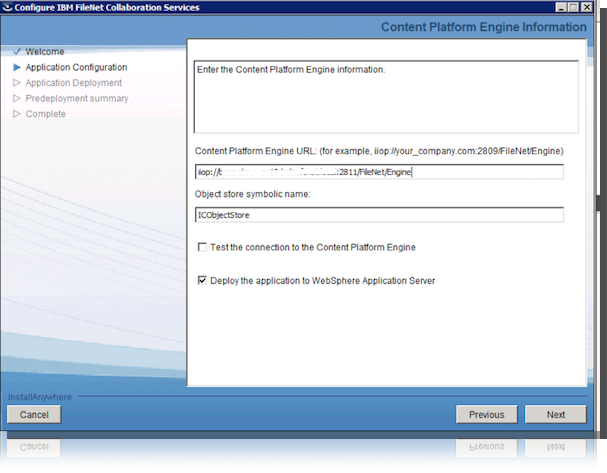
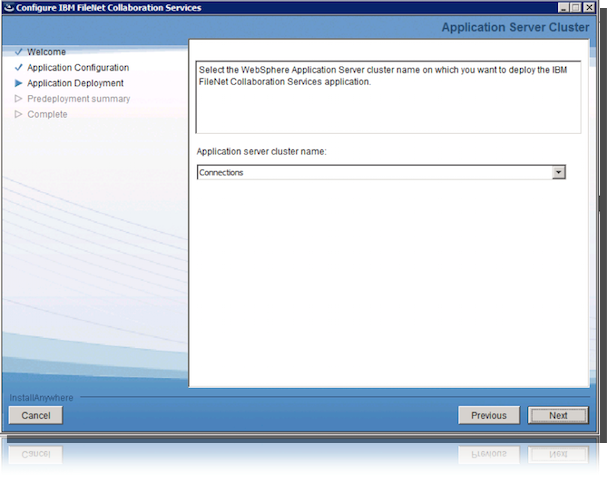
Install the FileNet Collaboration Services – FNCS-2.0.0.1-WIN.exe (Installation directory Connections_Install\addons\ccm\FNCS)
Documentation says next is running the ccmUpdate.bat in Connections_Install\addons\ccm\ccmDomainTool but this didn’t work for me
I opened up the config.properties file in Connections_Install folder and changed _ccm.existingDeployment=false_ to _ccm.existingDeployment=true_
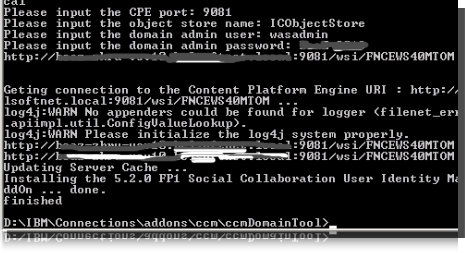
Now I run the ccmUpdate.bat inside Connections_Install\addons\ccm\ccmDomainTool
The scripts asks me for the CPE hostname, port, object store name (ICObjectStore), admin name and password</p>
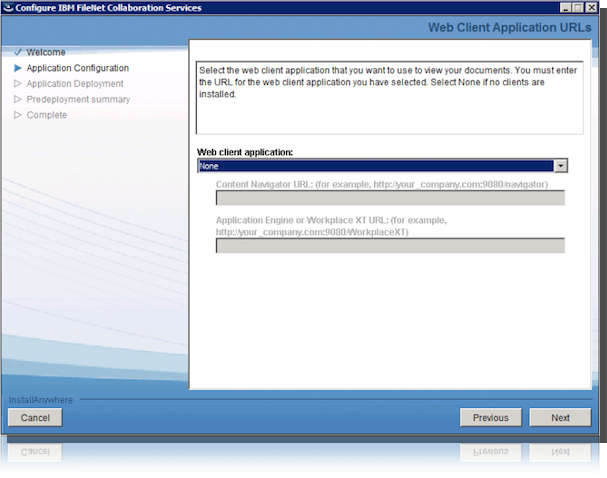
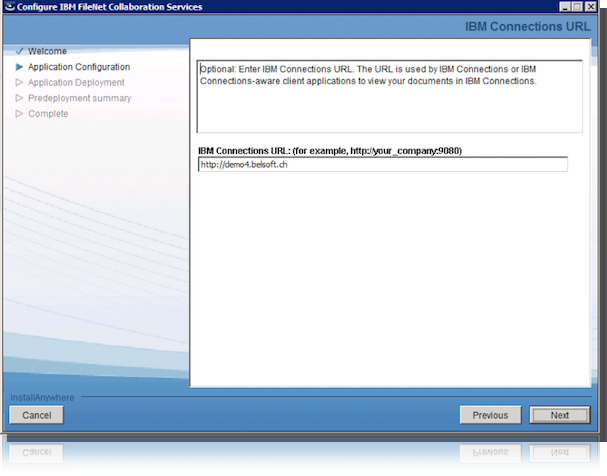
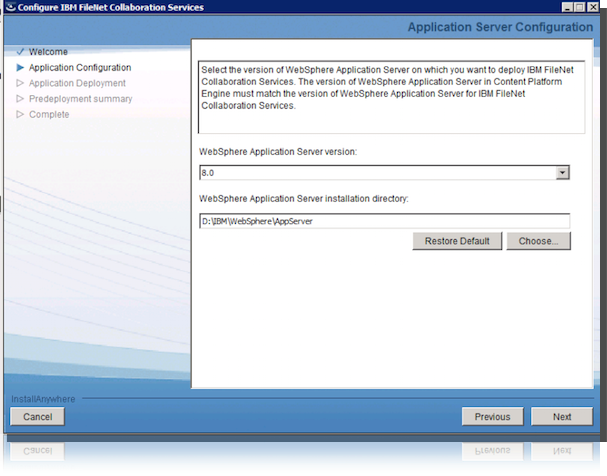
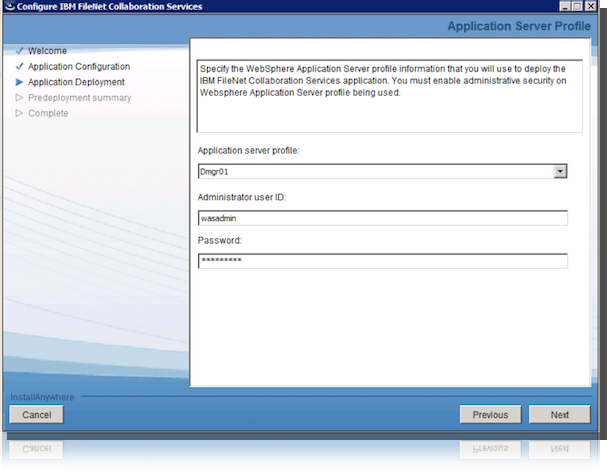
Now I reconfigure the FNCS for Connections with following settings (-> Connections 4.5 Wiki)
Modify security role mapping for FNCS application and add “Everyone” to the “Authenticated” role
Install the authentication filter code by going to WebSphere Enterprise Applications -> Select FNCS ->Click Update.
Choose "Replace, add, or delete multiple files" as Application update option and Connections\_Instal\ccm\ccm\ccm\auth\_filter\_patch\auth\_filter_patch.zip as local file
Map the FNCS,FileNetEngine modules back to your webserver (Enterprise Applications – FNCS/FileNetEngine – Manage Modules)